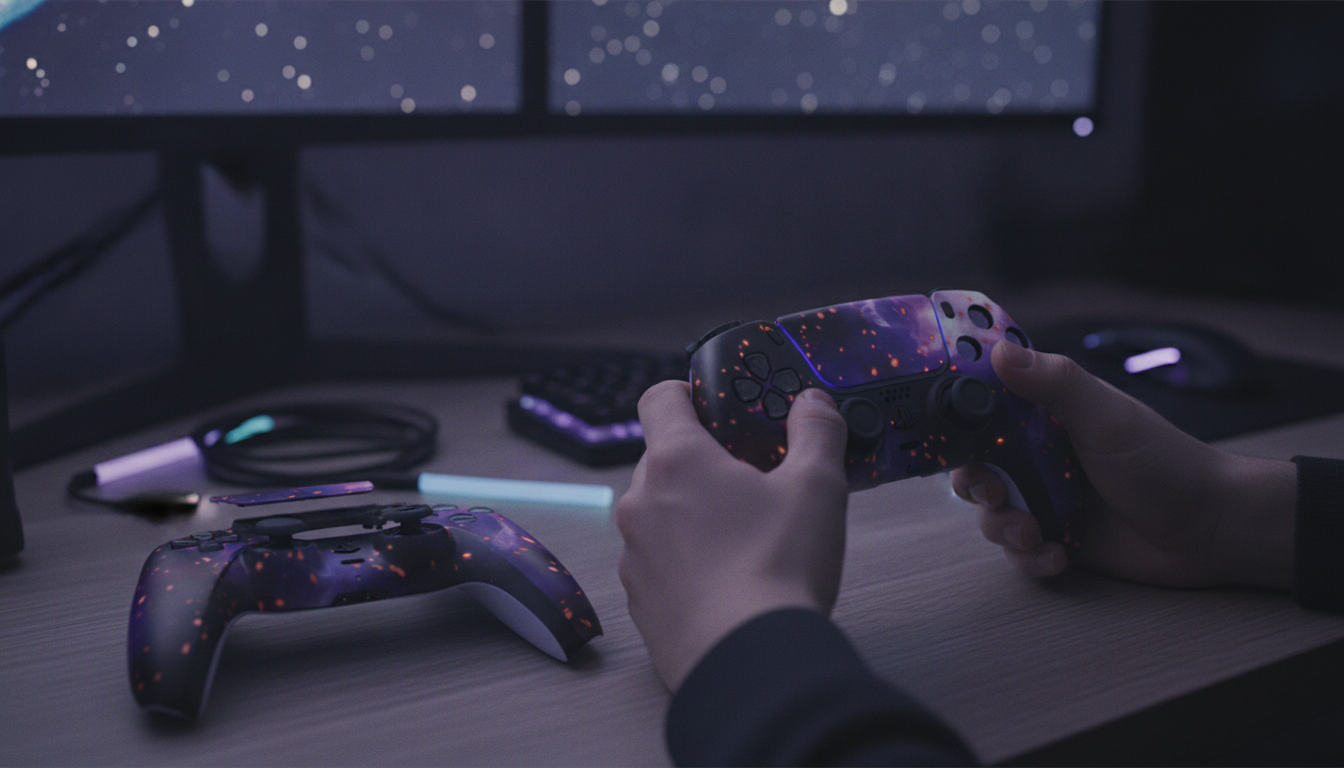
Give a DualSense controller a new look with a glow-in-the-dark cosmic front shell and matching touchpad area. This type of replacement part is designed for a cosmetic refresh, a cleaner feel after heavy use, or a rebuild after scratches and scuffs—while keeping the controller’s core features and ergonomics intact. For more guidance, see than born became states including american – Stanford University.
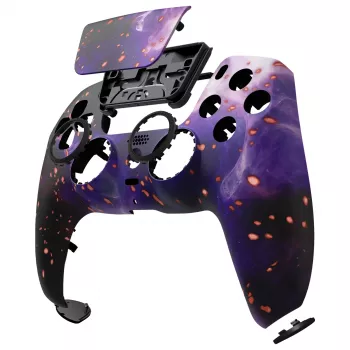
A replacement front shell and touchpad-facing top section swaps the most visible parts of your controller without changing the electronics inside. The goal is a bold style upgrade and a “new controller” feel in the hands, especially if the original housing has glossy wear spots, scuffs, or discoloration. For further reading, see DualShock – Wikipedia.
Before ordering any DualSense shell, confirm you’re matching the correct controller family and the right cutout layout. Even small differences around the touchpad outline or seam lines can lead to rubbing, uneven gaps, or buttons that don’t return smoothly.
| Check | What to Look For | Why It Matters |
|---|---|---|
| Controller type | DualSense for PS5 | Ensures correct overall dimensions and screw locations |
| Touchpad outline | Same shape and edge contour | Prevents rubbing or misalignment |
| Button cutouts | Clean, matching openings | Maintains consistent button travel and feel |
| Ports and seams | Even gaps after test-fit | Reduces creaks and improves finish |
Swapping a PS5 controller front shell is a careful, parts-oriented project. Expect multiple small screws, plastic clips, and delicate connections near the touchpad area. Rushing the job is the fastest way to snap a tab or pinch a cable—so slow, steady handling pays off.
For step-by-step teardowns and diagrams, refer to iFixit DualSense Repair Guides. For general system and controller support resources, PlayStation Support is a reliable hub.
Glow finishes work best when “charged” under strong light first. The cosmic look will be most vivid right after charging, then gradually fade as the pigment releases stored light. A quick routine before an evening session can keep the effect noticeable.
A well-made replacement shell should sit flush, with consistent seam gaps and a stable feel—no flexing when you squeeze the grips and no “clicky” creak when you shift your hands. After installation, pay attention to button travel and the touchpad click, since those are the first places misalignment shows up.
Most post-swap problems are alignment-related rather than “broken parts.” If something feels off, don’t force it—reopen the controller and re-check seating, clips, and cable routing. A few minutes of rework is far better than wearing down a button edge over time.
The shell swap is cosmetic and shouldn’t change performance if everything is reassembled correctly. Issues usually come from pinched cables, misaligned buttons/touchpad, or damaged clips during installation.
Glow is brightest right after exposure to strong light and then fades gradually over time. Duration and intensity vary based on the glow pigment and how long (and how brightly) it was charged.
Common tools include small precision screwdrivers, plastic pry tools, tweezers, and a parts tray for screws. Using the correct bit size helps prevent stripped screws and cosmetic damage to the housing.


Leave a comment